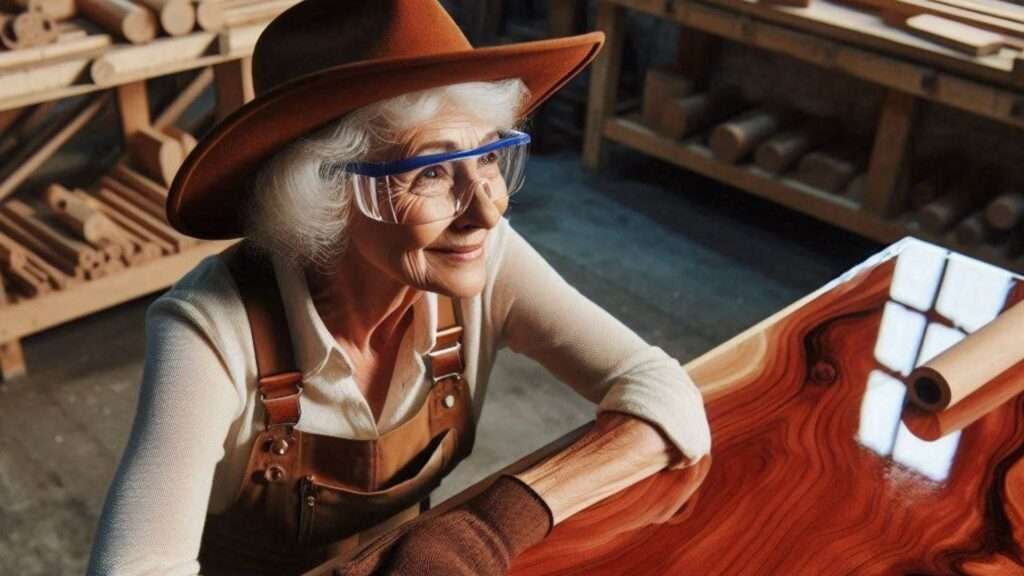
The Amazing Wood Finishing Technique That Is French Polishing.
French polishing is a well-known wood finishing technique that has fascinated artisans and furniture enthusiasts for centuries.
Most people believe that the French polishing technique originated in Asia, but it was brought into the fold by the French in the early 18th century, and it was French cabinet makers who popularised it in the 19th century.
French polishing made its way across the channel shortly after and quickly gained popularity in England, where it was widely used on fine furniture.
The technique entails applying multiple thin coats of shellac dissolved in alcohol with a rubbing pad, resulting in a high gloss finish.
Historically, French polishing was favored for its ability to produce a deep, rich luster that other finishing methods could not match.
This technique became particularly popular during the Victorian era, when the demand for luxurious, finely crafted furniture was at its peak.
The process involves labor-intensive steps, including padding, sanding, and polishing, which require significant skill and patience.
However, the end result is a finish that is both aesthetically pleasing and highly durable.
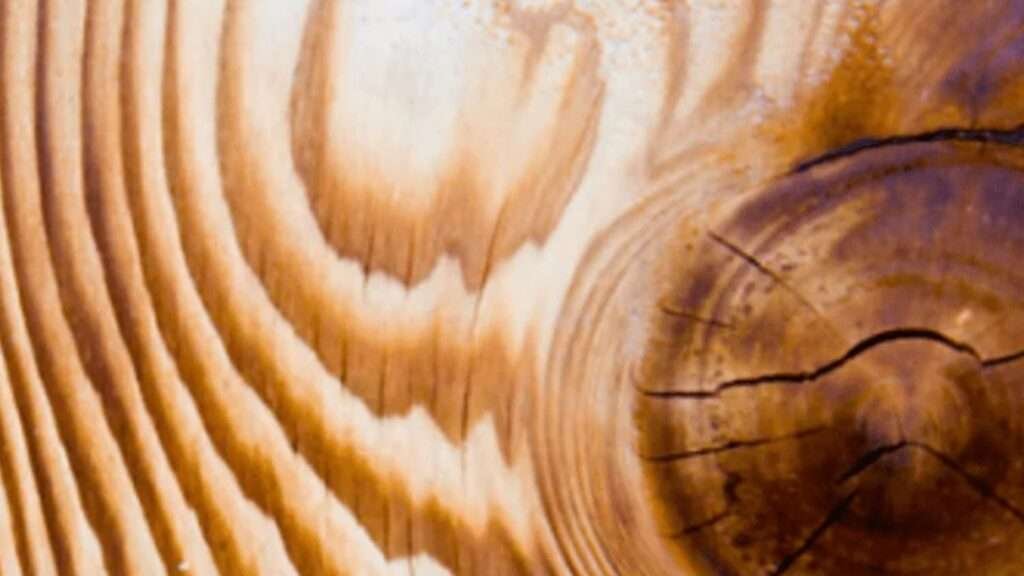
One of the key secrets to the enduring appeal of French polishing lies in its ability to highlight the grain and color of the wood, making each piece unique.
The application of shellac in numerous thin coats allows for a build-up of a finish that is both smooth and reflective, creating an almost glass-like surface. This high-gloss effect is not only visually stunning but also helps to protect the wood from moisture and wear.
In the contemporary furniture finishing industry, French polishing is still highly regarded, though it is often reserved for high-end, bespoke pieces due to the time and expertise required.
Despite the advent of modern finishing products and techniques, French polishing remains a benchmark of quality and craftsmanship.
Its timeless appeal and the unparalleled beauty it imparts to wood continue to make it a preferred choice for those seeking to achieve a truly exquisite finish.
Why French Polishing is So Widely Admired.
French polishing is widely admired for its ability to produce a deep, rich finish that enhances the natural beauty of wood.
This technique involves applying numerous thin layers of shellac, which is dissolved in alcohol. The result is a finish that not only highlights the fine details and grain of the wood but also provides a luxurious, glossy appearance that is difficult to achieve with other finishing methods.
The methodical application of these layers allows for an unparalleled level of control, ensuring that the final result is both smooth and vibrant.
One of the primary reasons French polishing is so esteemed is its durability. The multiple layers of shellac create a resilient surface that can withstand the test of time, maintaining its lustrous finish for many years.
This durability is particularly appreciated in antique furniture restoration, where maintaining the original look and feel of a piece is crucial.
The process itself is labor-intensive and requires a high level of skill, making it a mark of high-quality craftsmanship. When you see a piece of furniture with a French polished finish, you can be confident that it was created with great attention to detail and expertise.
Moreover, French polishing is often associated with luxury and sophistication. The high-gloss finish it provides is not only visually appealing but also conveys a sense of elegance and refinement.
This makes it a popular choice for high-end furniture pieces and musical instruments, where appearance is just as important as functionality.
In essence, French polishing is more than just a finishing technique; it is an art form that transforms ordinary wood into a stunning masterpiece, revered by craftsmen and admired by all who appreciate fine furniture.
The French Polishing Technique.
French polishing is an intricate finishing process that imparts a high-gloss, deep-colored finish to wooden furniture.
Central to this technique is the use of shellac, a natural resin derived from the secretions of the lac beetle.
Shellac is dissolved in denatured alcohol to create a varnish that can be meticulously applied to the wood surface.
The key to mastering French polishing lies in understanding the materials and tools involved, as well as the precise application process.
The primary tool used in French polishing is the French polishing pad, commonly referred to as a “rubber.”
This pad is traditionally made by wrapping cotton wadding in a piece of soft, lint-free cloth, such as muslin.
The rubber is soaked in the shellac mixture and used to apply thin, even layers to the wood. The application process is highly nuanced, requiring specific motions and pressures to achieve the desired finish.
When applying shellac, the rubber is moved in circular or figure-eight motions, allowing for smooth and consistent coverage.
The pressure applied should be light but firm, ensuring that the shellac is spread evenly without causing streaks or ridges.
Multiple thin layers are essential, as this allows for greater control over the finish and helps to build up the desired depth and luster.
Between each layer, it is crucial to allow sufficient drying time and to lightly sand the surface with fine-grit sandpaper to remove any imperfections.
Equally important in French polishing is the technique known as “spiriting off.” This final step involves using a clean rubber slightly dampened with alcohol to gently remove any excess oil and smooth out the finish.
The result is a beautifully polished surface that showcases the natural beauty of the wood while providing a durable and elegant finish.
Mastering these techniques requires patience and practice, but the rewards are well worth the effort, resulting in stunning, heirloom-quality furniture.
Step-by-Step French Polishing Process.
French polishing is a traditional wood finishing technique that results in a high-gloss, mirror-like surface.
This meticulous process requires patience, precision, and an understanding of each step involved. The journey to mastering French polishing begins with thorough surface preparation.
The first step involves sanding the wood surface to achieve a smooth, even base. Start with a coarse grit sandpaper to remove any imperfections or old finish, and then progressively move to finer grits.
Sand in the direction of the wood grain to avoid scratches. Once the surface is perfectly smooth, clean it meticulously to remove all dust particles. A tack cloth is ideal for this purpose.
Next, prepare the shellac mixture. Shellac flakes are dissolved in denatured alcohol, with the concentration depending on the desired finish.
A common ratio is one part shellac flakes to four parts alcohol. Allow the mixture to sit for 24 hours, stirring occasionally to ensure the flakes are fully dissolved. The resulting solution should be strained through a fine mesh to remove any impurities.
With the shellac mixture ready, it’s time to apply it. Using a pad made from a cotton cloth wrapped around a wad of wool (often referred to as a “rubber”), begin by applying a thin coat of shellac to the wood.
Work in circular motions to ensure even coverage. After the first coat, allow it to dry completely before lightly sanding with fine-grit sandpaper to remove any imperfections.
Continue building up layers of shellac, each time allowing the previous layer to dry thoroughly. This process can involve applying 20 to 30 thin coats, depending on the desired depth and gloss.
Patience is crucial, as rushing can lead to uneven finishes. Between coats, lightly sand the surface to maintain smoothness.
The final stage involves polishing and finishing touches. Once the desired number of shellac layers is achieved, use a mixture of alcohol and shellac to smooth out the surface.
This step, known as “spiriting off,” removes any streaks and brings out the high-gloss finish.
Finish by applying a small amount of oil, such as linseed or mineral oil, to the pad and polish the surface in small, circular motions. This adds depth and enhances the overall sheen.
Mastering the art of French polishing requires dedication and a keen eye for detail. The results, however, are worth the effort, as they transform ordinary furniture into stunning, timeless pieces.
Tools and Materials Needed for French Polishing.
French polishing is a meticulous process that demands a specific set of tools and materials to achieve a flawless furniture finish. The primary component is shellac, a natural resin secreted by the lac bug.
Shellac is available in various forms, including flakes and liquid, each offering unique advantages.
Flakes must be dissolved in alcohol to create a shellac solution, allowing for customization of concentration to suit different applications. Opt for high-quality shellac to ensure a lustrous and durable finish.
The French polishing pad, or “rubber,” is another essential tool. Typically made from a core of cotton wool wrapped in a soft, lint-free cloth, the pad is used to apply shellac in thin layers.
The choice of cloth is crucial; it should be absorbent yet smooth to facilitate even distribution of shellac.
Muslin or linen are popular choices due to their fine texture and durability. Regularly inspect and replace the cloth to maintain optimal performance and avoid contamination.
Cloths also play a vital role in the French polishing process. Clean, lint-free cloths are necessary for wiping away excess shellac and buffing the surface to a high sheen.
Microfiber cloths are particularly effective for this purpose, as they minimize the risk of scratching the delicate finish.
Rubbers, distinct from the French polishing pad, are used to apply pressure and heat during the polishing process.
They are usually made from soft rubber or foam and help in smoothing out the shellac layers, ensuring a uniform finish.
Always keep these rubbers clean and free from debris to avoid marring the surface.
When sourcing supplies, prioritize specialized woodworking stores or online retailers with a solid reputation for quality products.
Maintaining your tools is equally important; store shellac flakes in a cool, dry place and regularly clean pads and rubbers to prolong their lifespan.
By investing in high-quality materials and proper maintenance, you can master the art of French polishing and achieve stunning results on your furniture projects.
Tips and Tricks for Mastering French Polishing.
Mastering the art of French polishing requires a blend of precision, patience, and practice. To achieve a professional finish, it is essential to understand the nuances of the technique and avoid common pitfalls.
First and foremost, the quality of your materials plays a significant role in the outcome of your work.
Always use high-quality shellac, which is the core ingredient in French polishing. Ensure that the shellac is fresh, as old or improperly stored shellac can lead to a subpar finish.
Additionally, invest in a good polishing pad, known as a rubber, and maintain it properly to ensure even application.
A common mistake among beginners is applying too much shellac at once. This can result in streaks and an uneven finish.
Instead, apply thin, consistent layers, allowing each layer to dry fully before adding the next. This gradual build-up creates a smooth, glossy surface that is characteristic of French polishing.
Another key aspect is the use of oil. While oil helps lubricate the pad and prevent sticking, excessive use can dull the finish.
Use oil sparingly and periodically check the surface to ensure it does not become overly oily. If necessary, clean the surface with a mild solvent to remove excess oil.
During the polishing process, you may encounter issues such as streaking, clouding, or an uneven sheen.
To troubleshoot these problems, ensure that your work environment is dust-free and that you are using clean materials.
If streaking occurs, lightly sand the surface with fine-grit sandpaper and reapply shellac. For clouding, increase drying time between coats to allow moisture to evaporate fully.
Lastly, practice and patience are paramount. French polishing is a skill that improves with experience.
Allocate ample time for each project and avoid rushing through the process. Consistent practice will lead to better control and a deeper understanding of the technique.
By adhering to these tips and being mindful of common mistakes, you can achieve a stunning, professional-quality finish on your furniture. Mastery of French polishing is not instantaneous, but with dedication and attention to detail, you can create beautiful, polished surfaces that stand the test of time.
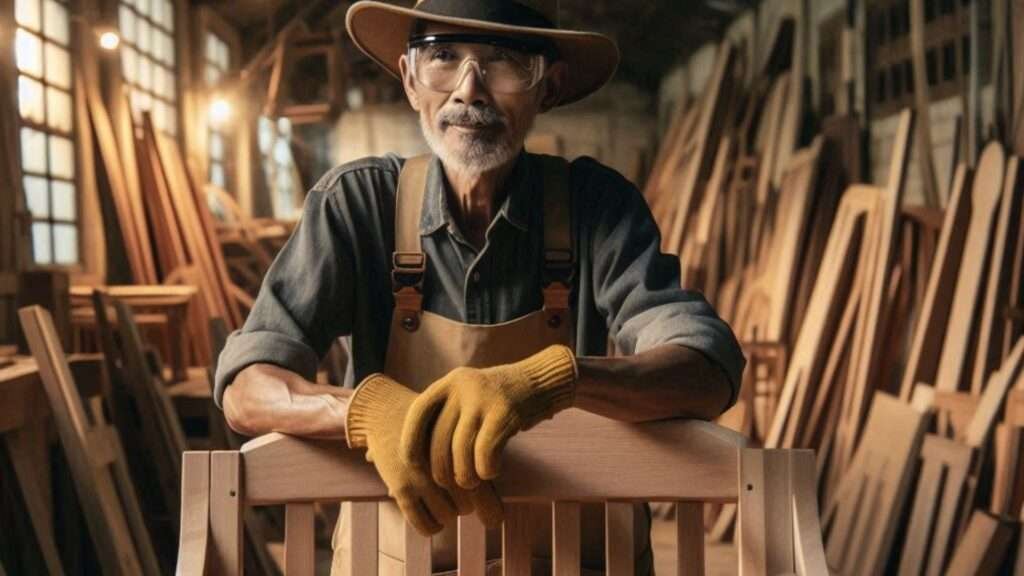
Professional French Polishing Quality Via The Experts.
For individuals who prefer to entrust their furniture finishing to experts, professional French polishing services offer an ideal solution.
French polishing is a meticulous and time-consuming process that demands a high level of skill and experience.
By hiring a professional, you can ensure that your furniture receives the finest attention to detail, resulting in a stunning and durable finish.
When seeking out a professional French polisher, it is important to consider several key factors.
Firstly, look for craftsmen with a proven track record and extensive experience in the field.
Reviewing online portfolios and customer testimonials can provide valuable insights into their expertise and the quality of their work.
Additionally, certifications or memberships in professional organizations can be indicators of a polisher’s commitment to maintaining high standards.
Professional French polishers offer a variety of services tailored to meet the needs of different clients.
These services typically include furniture restoration, where the polisher revives and repairs vintage or antique pieces, preserving their historical value.
They may also offer custom finishing for new furniture, applying the French polishing technique to create a bespoke look that enhances the wood’s natural beauty.
Other services may include maintenance packages that help keep polished surfaces looking their best over time.
Finding reputable craftsmen can be achieved through several avenues. Personal recommendations from friends or family who have previously employed French polishing services can be invaluable.
Alternatively, online platforms and directories specializing in artisan crafts can connect you with skilled professionals in your area.
It is advisable to conduct thorough research and seek multiple quotes to ensure you are making an informed decision.
Engaging a professional French polisher brings numerous benefits. Apart from achieving a superior finish that is difficult to replicate with DIY methods, you also save time and effort.
Professionals are equipped with the right tools and materials, and their expertise ensures that the final result is both aesthetically pleasing and long-lasting.
By choosing a professional service, you invest in the longevity and elegance of your furniture, making it a worthy consideration for those seeking the best results.
Becoming A French Polishing Expert.
Embarking on the journey to become proficient in French polishing can be both a challenging and rewarding endeavor.
For those passionate about woodworking and furniture restoration, mastering this time-honored technique offers the opportunity to achieve a stunning, professional-quality finish that speaks volumes about your craftsmanship.
The path to expertise begins with a strong foundation in the basics of French polishing and is built upon through continuous learning and dedicated practice.
To get started, it is essential to familiarize yourself with the fundamental materials and tools required for French polishing.
Numerous resources are available for those eager to delve deeper into the art of French polishing.
Books, online tutorials, and workshops offer valuable insights and step-by-step guidance.
Renowned publications and websites dedicated to woodworking often feature comprehensive guides and expert tips.
Engaging with a community of fellow enthusiasts, whether through local clubs or online forums, can also provide support and inspiration as you refine your skills.
Practice is undeniably the cornerstone of becoming a French polishing expert. Start with smaller projects to build confidence and gradually tackle more complex pieces.
Every application of shellac, every stroke of the rubber, and every layer added contributes to your understanding and proficiency.
Embrace the learning process, including the inevitable mistakes, as they are crucial to mastering this intricate craft.
Ultimately, the satisfaction derived from French polishing lies in the transformation of ordinary furniture into works of art.
The gleaming surface, the depth of the finish, and the tactile smoothness achieved through meticulous effort are testaments to your dedication & skill.
As you continue to hone your technique, the rewards of French polishing extend beyond the physical beauty of the piece, enriching your craftsmanship journey and leaving a lasting legacy of elegance.


[…] https://www.glzwoodw.biz/french-polish/ […]
[…] you would like to learn more about The French Polishing Technique, you can read the article I dedicated to this […]