Woodworking Challenges And Mistakes
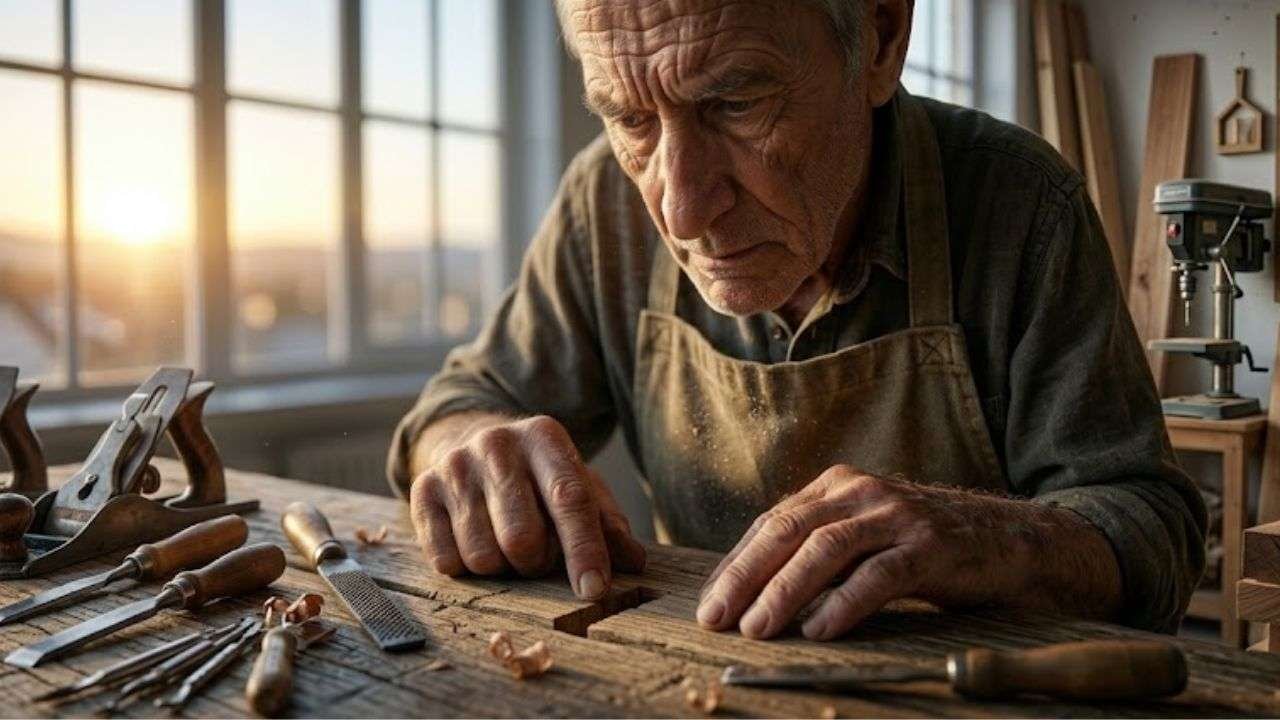
A woodshop sometimes reveals its lessons slowly. Some arrive through repetition and others appear in a single moment when a board behaves differently than expected or a layout line shifts under the light.
These moments shape our woodworking experiences as much as the finished pieces that leave the bench.
The Nature Of Accuracy.
Precision begins long before a tool touches wood. A small shift in measurement can echo through an entire project.
A steel rule on a cool morning feels firm and certain yet a tape measure used for layout introduces small variations that accumulate.
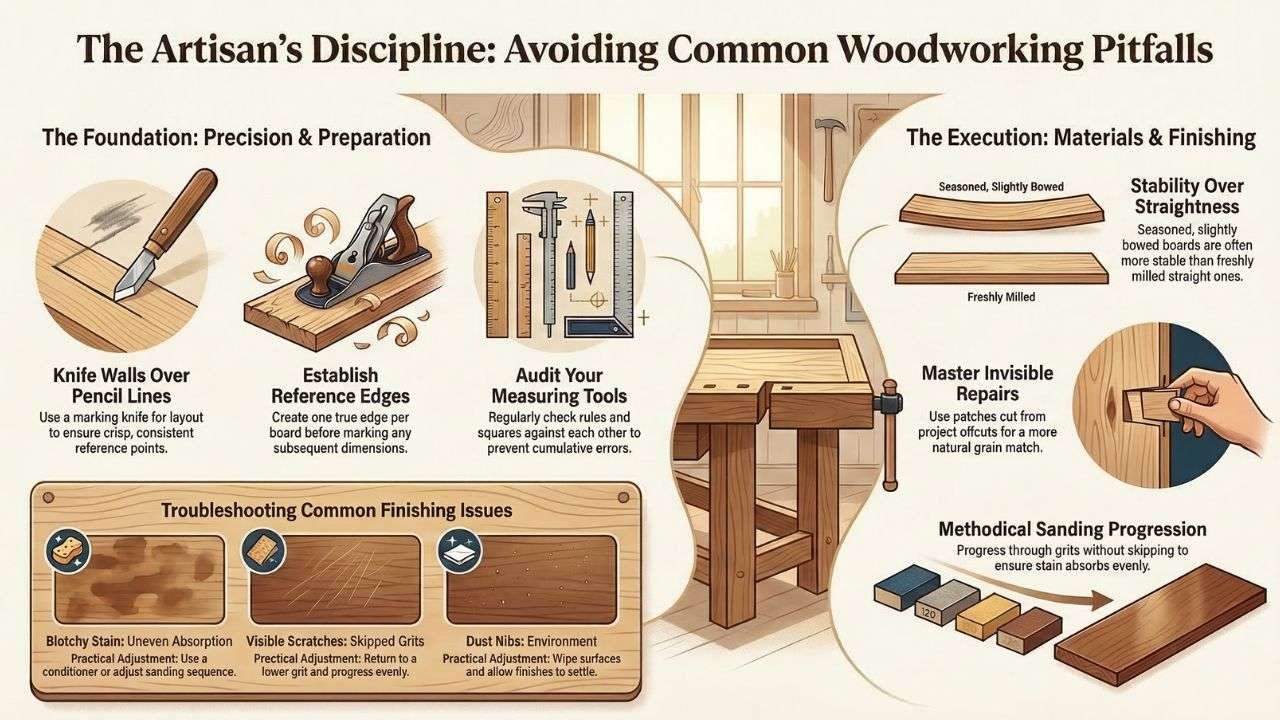
A knife wall creates a crisp boundary while a broad pencil line softens the intention. Even a trusted square can drift out of alignment over time which changes the way joints meet.
The grain of a board catches the light differently as you move around it which makes fine marks easier or harder to read. These details influence the outcome more than many expect.
- Use a marking knife for joinery layout to create consistent reference points.
- Check measuring tools against each other to confirm accuracy.
- Establish a single reference edge on each board before marking.
A practical limitation appears when working with reclaimed timber.
Its irregularities add character but they also complicate precise layout.
The trade-off is worth it for many woodworkers although it requires slower preparation.
Understanding Wood As A Material.
Wood responds to its environment with a quiet persistence. A board that felt stable in the shop can shift slightly after a week indoors.
The scent of freshly planed cedar or the smooth surface of oiled beech reminds you that each species behaves differently.
Grain direction influences how a plane glides and how a router bit lifts fibres. Moisture content changes the way a panel settles into a frame.
A wide tabletop built without room for movement may show a fine crack along the edge months later.
A counter-intuitive truth emerges here. The most stable boards are not always the straightest ones on the rack.
A perfectly straight board can move dramatically if it was milled too soon while a slightly bowed board that has already released its internal tension may remain steady for years.
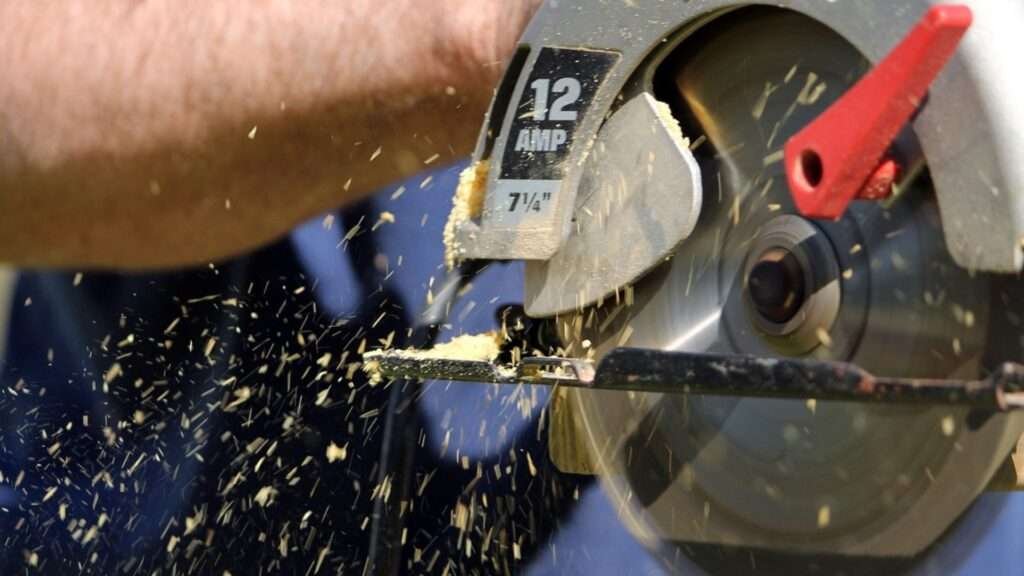
Tools And Their Demands.
Tools shape wood but they also shape the craftsperson. A sharp chisel leaves a clean surface that reflects light evenly.
A dull one compresses fibres and creates a rough patch that absorbs finish differently. Machines require calibration to maintain accuracy.
A jointer bed that is not perfectly aligned will produce edges that never quite meet. A router guided too quickly leaves faint ridges that only appear when the finish is applied.
- Keep blades sharp to reduce resistance and improve surface quality.
- Confirm machine alignment at regular intervals.
- Use tools for their intended purpose to maintain control.
A small tangential observation often arises when tuning tools. The sound of a hand plane taking a fine shaving changes subtly as the blade reaches optimal sharpness. It is a quiet indicator that the tool is ready.
The Pace Of Work.
Woodworking rewards steady progress. Rushing a glue-up introduces stress that lingers in the final piece.
A dry fit reveals how components settle together and how clamps distribute pressure. Glue behaves differently depending on temperature and humidity which affects open time.
Removing clamps too early can allow a joint to shift slightly which becomes visible when light grazes the surface.
Finishing also requires patience. A coat of oil applied before the previous layer has cured leaves a tacky surface that attracts dust.
Sanding between coats creates a smooth texture that feels warm under the hand. The scent of linseed oil or shellac in the workshop signals a slower rhythm that benefits the final result.
Finishing Choices And Their Effects.
A finish highlights the character of the wood. It also reveals imperfections that were invisible during construction.
Sanding scratches appear clearly once stain is applied. Dust trapped in a film finish creates small bumps that catch the fingertips.
A colour that looked rich under workshop lighting may appear muted in a living room with softer light.
- Progress through sanding grits methodically to avoid uneven surfaces.
- Test stain colours on offcuts from the same board.
- Apply thin coats to maintain control over the final appearance.
A useful table helps clarify how different finishing issues relate to their causes.
| Issue | Likely Cause | Practical Adjustment |
| Blotchy stain | Uneven absorption | Use a conditioner or adjust sanding sequence. |
| Visible scratches | Skipped grits | Return to a lower grit and progress evenly. |
| Dust nibs | Dust in environment | Wipe surfaces and allow finishes to settle. |
| Colour shift indoors | Lighting variation | Test finishes in the final location. |
Assembly Decisions.
Glue-ups bring together all earlier choices. Clamps apply pressure that must be balanced. Too few clamps create gaps while too many can distort a frame.
Glue squeeze-out affects how stain absorbs which changes the appearance of the final piece.
A complex assembly requires a clear sequence so parts settle naturally. The texture of clamp pads against the wood leaves faint impressions if pressure is uneven.
- Prepare all clamps and cauls before applying glue.
- Plan the assembly order to reduce stress.
- Address squeeze-out at the appropriate moment depending on the finish.
A limitation appears when working alone on large assemblies.
Some tasks simply require more hands or a slower adhesive to maintain control.
Design And Planning.
Design choices influence the ease of construction. A leg that tapers too aggressively may weaken the structure.
A drawer designed without considering slide thickness will not fit the opening. Material thickness affects proportions and joinery.
Light falling across a panel reveals whether the grain direction supports the intended visual flow.
A small shift in design mid-project can create a cascade of adjustments. Sometimes it works. Often it complicates the build.
Planning with full-scale drawings or mock-ups helps maintain clarity.
Recovering From Mistakes.
Mistakes are part of the craft. A gap in a joint can be filled with a mixture of sawdust and glue although it will not match the surrounding grain perfectly.
A patch cut from a matching offcut blends more naturally. Tear-out can be removed with a card scraper which leaves a smooth surface that reflects light evenly. A misaligned glue-up can sometimes be corrected with gentle heat and careful pressure before the adhesive fully cures.
- Use patches when appearance matters.
- Scrape rather than sand when dealing with tear-out.
- Keep offcuts from each project for future repairs.
These solutions build confidence. They also encourage experimentation which strengthens long-term skill.
A Mindset For Growth.
Woodworking becomes more rewarding when mistakes are seen as part of the process. A shelf that sits slightly out of square teaches more about joinery than a perfect one built by chance.
A finish that dries unevenly encourages better preparation next time. The texture of a well-planed surface or the warmth of a freshly oiled board reminds you why the craft matters.
A small notebook in the workshop helps track these lessons. Notes about grain behaviour or tool adjustments become a personal reference that grows with each project. Over time the workshop becomes a place where challenges are expected and understood rather than avoided.
The craft continues to evolve with each board that reaches the bench.