Finishing Techniques
Surface preparation shapes the character of a piece long before any oil or varnish touches the grain.
The texture created through sanding or planing determines how light moves across the surface and how the wood feels under the hand.
This quiet stage of the process often decides whether a project carries a sense of refinement or a more grounded, tactile presence. The work is slow and steady. The results stay visible for decades.
Understanding the Physical Landscape of Wood.
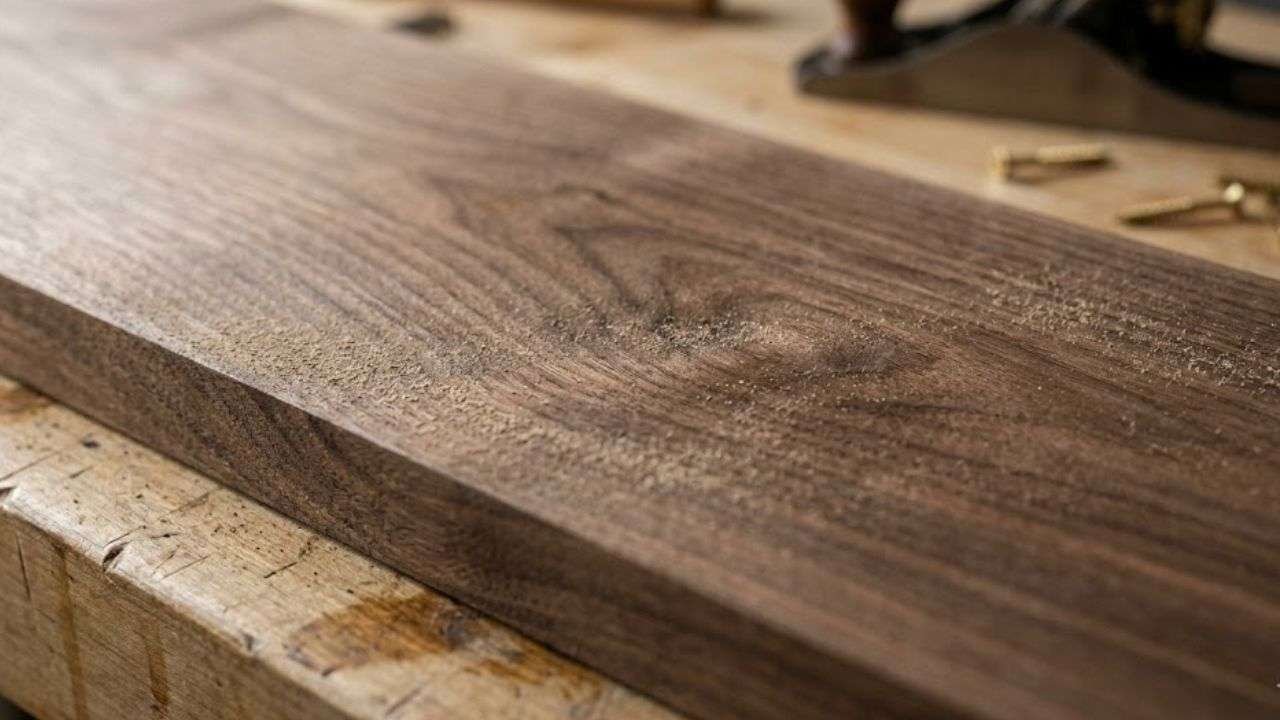
Every board contains a microscopic terrain that responds to abrasion in predictable ways. Coarse grits leave torn fibres that stand proud.
Fine grits sever those fibres cleanly and create a surface that feels almost cool when the fingertip glides across it.
The difference becomes obvious when sunlight hits the surface at a shallow angle. Even a small change in grit progression alters the way the grain reflects that light. This is why two boards from the same tree can look unrelated once finished. The surface tells its own story.
Rustic and As-Escaped Surfaces.
A rough-sawn board or a surface shaped with a drawknife carries a texture that is impossible to fake. The ridges left by a hand plane or the slight fuzziness of torn grain create a surface that catches on a cotton rag.
This is not a flaw. It is a deliberate choice that suits spaces where the material is meant to feel unrefined.
A barn door made from rough-sawn pine has a presence that a finely sanded panel cannot match. The tactile honesty becomes part of the design.
There is a practical limitation. Rough surfaces trap dust and can snag clothing. They also absorb oil unevenly which produces dark patches that are difficult to correct. These trade-offs are part of the decision rather than a problem to solve.
Medium Utility Surfaces.
Sanding to 80 or 120 grit creates a surface that feels functional.
The scratch pattern is visible when viewed across the grain but the board does not feel sharp. Many woodworkers use this level of preparation for shop furniture because it balances speed with durability.
A workbench top sanded to 120 grit still shows the texture of the fibres when the light hits it but it resists minor dents better than a highly polished surface.
There is a small detail worth noticing here. Many people assume that a smoother surface is always stronger.
In practice though, a slightly rougher surface often holds up better to daily use because the fibres have not been polished to the point of fragility.
Fine Furniture Surfaces.
Most indoor furniture sits in the 150 to 180 grit range. At this level the scratch pattern becomes difficult to see without magnification.
The palm feels a smooth surface while the fingertip still detects a faint texture. This subtlety matters when applying film finishes.
Polyurethane and varnish rely on a small amount of micro texture to bond effectively. A tabletop sanded to 180 grit accepts the first coat evenly and the finish builds into a consistent film.
A lived-in example appears in a dining table made from blackwood.
When sanded to 150 grit the pores remain open enough to take varnish without blotching. The final surface feels warm and natural rather than overly slick.
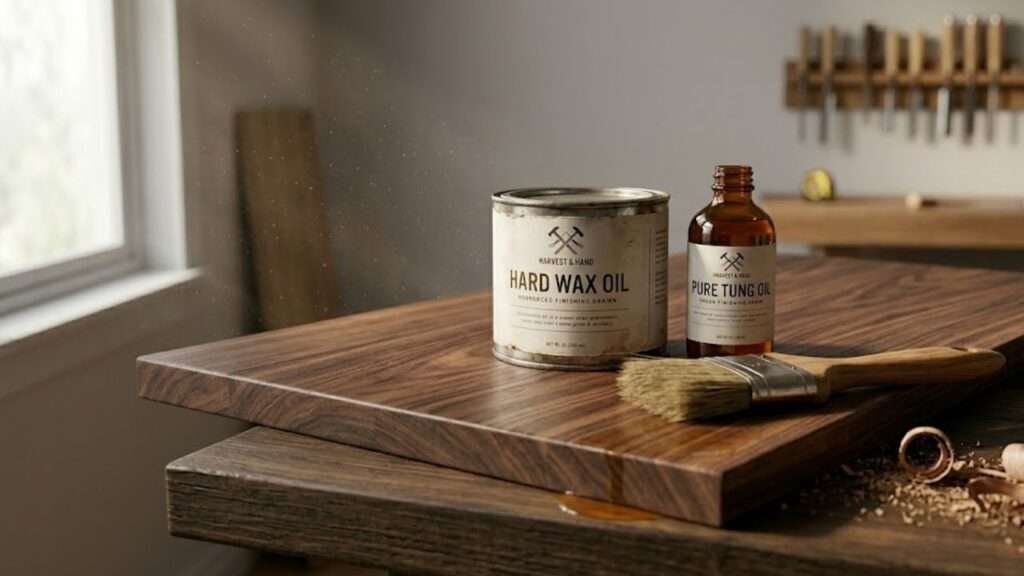
Very Fine Surfaces for Oil and Wax.
Sanding to 220 or 320 grit produces a surface that begins to shine before any finish is applied.
The fibres lie flat and the wood feels almost soft. Oils and waxes benefit from this level of preparation because they do not build a thick film.
The smoothness becomes the finish. A small box made from silky oak reveals this clearly. After sanding to 320 grit the medullary rays shimmer under a single coat of wax. The tactile quality is gentle and refined.
There is a counter-intuitive point here. Many woodworkers assume that sanding finer always improves the result.
In reality a surface that is too smooth can prevent oil from penetrating which leads to a patchy appearance. The balance between smoothness and absorption is more delicate than it first appears.
Ultra-Fine and Polished Surfaces.
Sanding beyond 400 grit moves into a specialised category. The surface becomes reflective and cool to the touch.
Pumice or rottenstone can polish the fibres until the wood resembles stone.
This level of refinement suits musical instruments or turned objects where the tactile experience is central to the design.
A violin neck polished to 600 grit feels almost frictionless which allows the hand to move freely.
The limitation is clear. A surface polished to this degree can resist many finishes. The pores close so tightly that adhesion becomes unreliable.
Wax or shellac can still bond but thicker finishes may peel. This is not a flaw in technique. It is a natural consequence of the material.
How Surface Texture Influences Finish Absorption.
The structure of wood explains why grit progression matters. Each grain line contains bundles of cells that behave like tiny tubes.
Coarse sanding tears these tubes open which creates deep channels. Fine sanding cuts them cleanly which produces shallow openings.
This difference controls how finishes behave.
- Coarse surfaces absorb oil quickly which produces a darker and more matte appearance.
- Fine surfaces allow oil to sit closer to the top which creates a lighter and clearer result.
- Identical boards can look dramatically different when finished with the same product because the surface texture controls absorption.
This principle becomes obvious when comparing two offcuts from the same project. One sanded to 120 grit and one to 220 grit will show different colours after a single coat of Danish oil. The contrast is often surprising even to experienced woodworkers.
Practical Rules of Thumb.
Woodworkers often rely on simple guidelines to decide when to stop sanding. These rules come from repeated experience rather than theory.
- Stop at 150 to 180 grit when using polyurethane or varnish. The finish will fill the remaining micro scratches.
- Sand to 220 to 320 grit when using oil or wax because the smoothness becomes part of the final appearance.
- Avoid sanding raw wood beyond 400 grit unless the goal is a polished surface with minimal finish.
These guidelines help maintain consistency across projects. They also prevent the common issue of over-sanding which can reduce adhesion.
Table: Typical Surface Categories and Their Characteristics.
| Category | Typical Grit or Method | Visual and Tactile Result | Common Uses |
| Rustic or As-Escaped | No sanding; hand plane, drawknife, rough-sawn | Tool marks, ridges, fuzzy grain | Barn doors, rustic furniture |
| Medium or Utility | 80 to 120 grit | Visible scratch pattern, fine texture | Shop furniture, jigs, benches |
| Fine Furniture | 150 to 180 grit | Smooth to palm, faint texture to fingertip | Indoor furniture |
| Very Fine | 220 to 320 grit | Glass-like feel, no visible scratches | Oil, wax, shellac work |
| Ultra-Fine | 400 grit and beyond | Polished, reflective, cool surface | Instruments, luxury items |
Integrating Surface Texture Into Design Decisions.
Surface preparation is not a separate task. It is part of the design language of a piece. A cabinet door with a fine surface communicates precision.
A bench seat with a slightly rougher texture feels more grounded.
The choice depends on how the piece will be used and how it should feel in the home. A small tangential observation arises when working with softwoods.
Radiata pine often behaves unpredictably at finer grits because the earlywood and latewood respond differently to abrasion.
The softer bands compress under pressure which creates uneven absorption. This is not a failure of technique. It is a characteristic of the species.
Closing Thoughts.
The spectrum of physical surface finishes offers a wide range of creative choices. Each level of refinement carries its own visual and tactile qualities.
The work is quiet and deliberate. The results shape the way a piece lives in a room and how it feels in the hand. Surface preparation is not only a technical step. It is part of the craft.