Interior Woodwork And Panelling
Working with limited resources often sharpens a woodworker’s instincts.
It encourages closer attention to grain, proportion and the way light moves across a surface. Interior woodwork becomes less about purchasing power and more about thoughtful choices that shape a room with intention.
Understanding Material Potential.
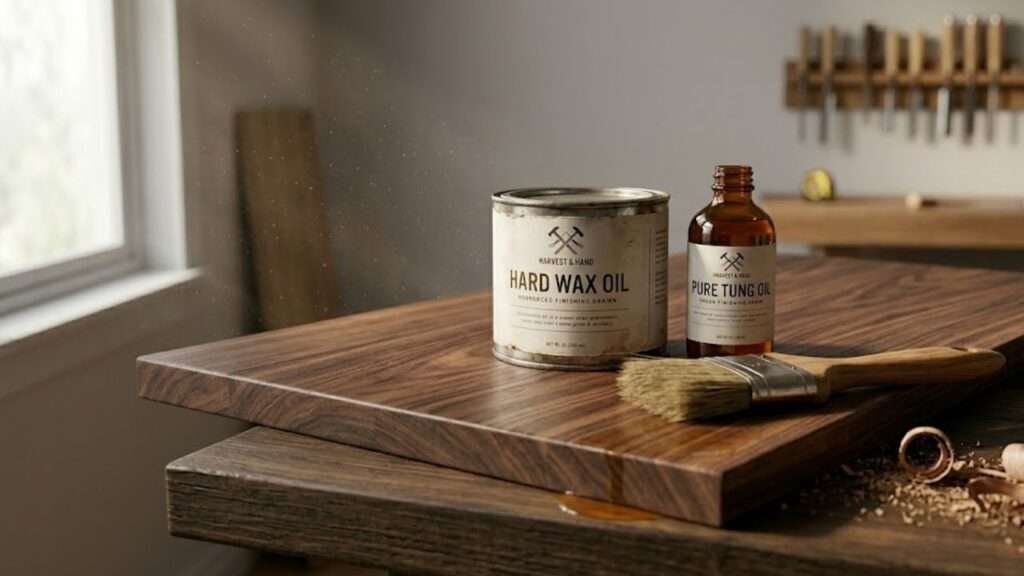
Budget friendly interior woodwork begins with a clear view of what each material can offer. Paint grade timber such as poplar or clear pine accepts primer smoothly and allows small imperfections to disappear under a consistent finish.
The surface feels different under the hand compared to hardwood but the result can still look refined when the paint settles into a soft sheen.
This approach frees the project from the cost of premium boards and opens the door to more ambitious wall coverage.
A single sheet of MDF or plywood can transform a space when used with care. The scent of freshly sanded pine in a small room often signals the start of a project that will rely more on technique than on expensive stock.
Working With the House’s Existing Lines.
Every home has its own geometry. Some walls are perfectly straight while others carry a slight wave that becomes visible when long boards run across them.
Thin battens made from 1×2 pine flex enough to follow these irregularities without forcing the wall to conform.
This flexibility reduces the need for extensive shimming or correction. Caulk applied along the edges settles into the gap and creates a clean visual line once painted. In newer homes with flat plasterboard surfaces wider MDF panels sit comfortably and create a more formal appearance.
The choice between thin battens and broad sheets depends on the room’s structure rather than the budget. A small tangential observation arises here.
The way morning light grazes a slightly uneven wall can add a sense of age that many homeowners value even when the surface is not technically perfect.
Using Paint as a Strategic Tool.
Paint is often the most effective budget tool in interior woodwork.
A satin or eggshell finish hides minor surface variations and gives the panelling a unified appearance.
The brush strokes settle into the grain of pine or the smooth face of MDF in different ways but both can look intentional when the colour is chosen with care.
Deep greens and navy tones create a sense of depth in small rooms while crisp white brightens narrow hallways.
The counter intuitive insight is that painted surfaces can appear more expensive than stained ones when working with modest materials.
Stain exposes every knot and inconsistency which demands higher grade timber. Paint allows the project to use cull rack boards or offcuts without compromising the final impression.
Selecting Materials With Purpose.
Material selection shapes both the cost and the character of the project. Cull lumber racks at hardware stores often contain long boards with minor defects that can be trimmed away.
The remaining sections are perfectly usable for battens or trim. The tactile feel of these boards after sanding is no different from full price stock.
Salvage yards and ReStores offer old doors and baseboards that can be repurposed into wall features. A solid timber door cut into panels provides a level of detail that would be expensive to reproduce with new materials.
The grain of older timber often carries a patina that becomes visible even under paint. Plywood sheets cut into rectangles create flat panel wainscoting that feels substantial once framed with thin poplar strips. The edges of the plywood accept primer well and the surface becomes smooth after a light sanding.
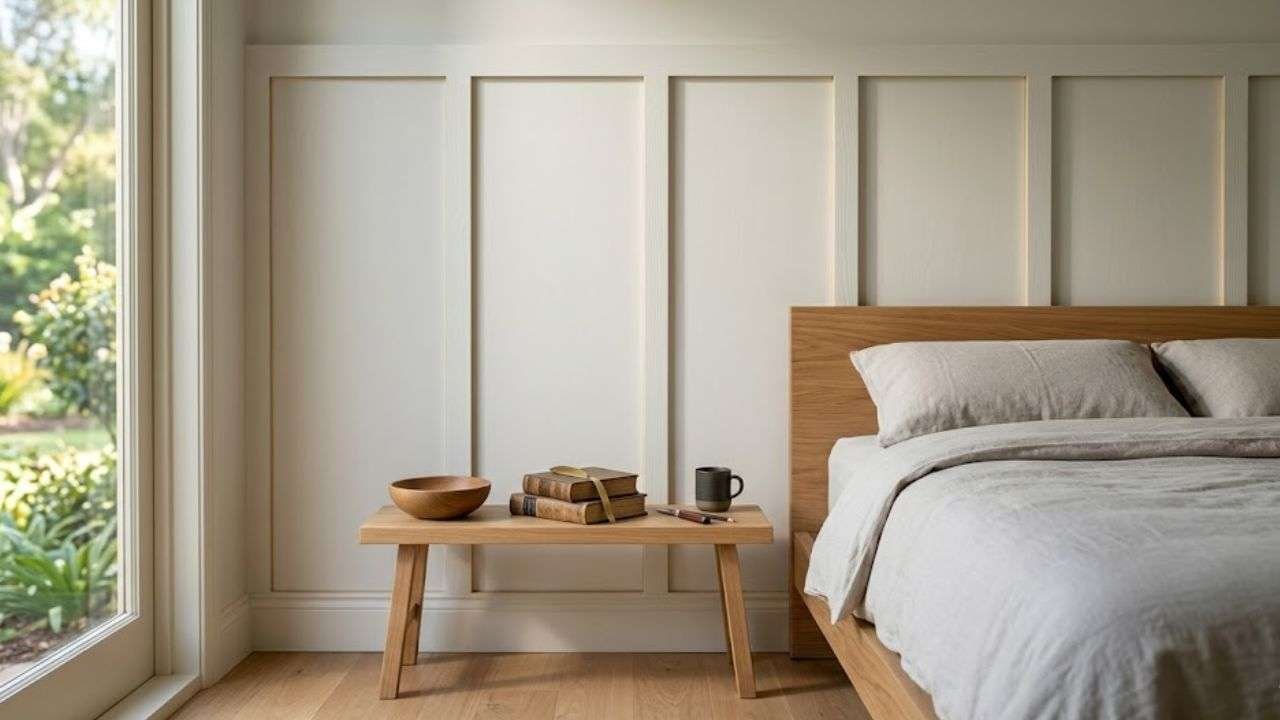
Choosing the Right Wall to Feature.
Not every room benefits from full coverage. A single feature wall can anchor a space and provide a focal point without overwhelming the budget.
Behind a bed or sofa the vertical lines of board and batten draw the eye upward and create a sense of height.
In a dining area a flat panel arrangement adds structure without competing with furniture. The limitation is clear. Attempting to panel all four walls with low cost materials can dilute the effect and make the room feel busy.
Concentrating effort on one wall allows the project to use better trim and more careful finishing. The grain of the pine battens becomes more noticeable when the surrounding walls remain plain.
Applying Techniques That Improve Consistency.
Technique often determines whether a budget project looks intentional.
Spacers cut from hardboard or cardboard ensure even gaps between boards. This method removes the need for constant measurement and keeps the rhythm of the wall consistent.
The sound of the hammer tapping nails into pre drilled holes becomes steady work rather than a struggle to avoid splitting the wood.
Wood filler pressed into nail holes dries to a smooth surface that disappears under primer. Caulk applied along seams creates a continuous line that reads as a single architectural element once painted.
These small steps elevate the project and reduce the visual noise that can occur when boards are slightly misaligned.
- Use spacers to maintain consistent gaps between boards.
- Pre drill nail holes to prevent splitting.
- Apply wood filler to all fastener points.
- Sand lightly before priming.
- Use paintable caulk to create clean transitions.
Balancing Cost and Detail.
Trim and moulding provide the finishing touches that define the overall impression. A single piece of crown moulding or a decorative rosette can elevate an entire wall.
These elements draw attention and create a sense of craftsmanship.
The trade off is that high quality trim is more expensive per metre than basic boards. Allocating a small portion of the budget to these details creates a balanced result.
The smooth curve of a well chosen moulding contrasts with the flat planes of plywood or MDF and adds depth to the room.
The tactile difference between the trim and the panelling becomes noticeable when running a hand along the edge.
Planning the Project for Efficiency.
A clear plan reduces waste and ensures that each step builds toward the final result. Selecting the wall first determines the amount of material needed.
Cutting plywood sheets into panels before mounting them saves time and reduces errors. Watching a short instructional video on caulking techniques provides practical guidance that improves the finish.
The smell of primer as it dries signals the transition from raw construction to the beginning of the final surface.
Two coats of paint applied with a quality roller create a smooth texture that hides the underlying material. The room begins to feel cohesive as the colour settles into the corners and edges.
Comparing Common Budget Friendly Approaches.
| Method | Primary Materials | Cost Efficiency | Visual Effect | Best Use Case |
| Board and Batten | Pine battens, plywood or hardboard field | High | Vertical rhythm with clean lines | Bedrooms and living rooms |
| Flat Panel Wainscoting | Birch or oak plywood, poplar trim | Moderate | Classic architectural detail | Dining rooms and hallways |
| Slat Wall | Narrow pine or MDF strips | High | Modern linear texture | Entryways and feature walls |
| Salvaged Timber Panels | Reclaimed doors or boards | Variable | Character rich surfaces | Accent areas |
Each method offers a different balance of cost and appearance. The choice depends on the room’s purpose and the desired atmosphere.
Bringing the Project Together.
When the final coat of paint dries the room often feels more intentional than before. The panelling adds structure and the trim provides definition.
The project reflects the choices made along the way. The scent of fresh paint and the subtle texture of the boards create a sense of completion.
Working within a modest budget encourages careful decisions that result in a space with character and clarity. The room becomes a reflection of craftsmanship rather than expenditure.