Wood Finishing Techniques

Woodworkers often focus on joinery and tool skills long before they consider how a surface will look or feel.
Yet finishing shapes the final impression of any project. The way light moves across a polished edge or the way a hand glides over a waxed panel influences how the piece is used and valued.
This piece of writing explores why time spent learning finishing techniques is worthwhile and how informed preparation prevents common problems that can undermine otherwise strong craftsmanship.
Understanding the Role of Finishing.
Finishing determines how wood interacts with daily life. A dining table with a poorly cured topcoat will show marks from warm plates while a bookshelf with uneven stain will appear patchy in natural light.
These outcomes are avoidable when the craftsperson understands how finishes behave on different species.
The grain of spotted gum absorbs oil differently from the tight fibres of European beech. This difference becomes clear the moment a first coat is applied and the surface darkens in irregular patterns. The sensory shift from raw timber to sealed timber is immediate. It is also instructive.
A small tangential observation often arises during this stage. Many woodworkers notice that the scent of freshly sanded timber changes once a finish is applied.
The aroma becomes muted as the pores close. This detail has no direct impact on technique yet it reinforces how finishing alters the material in subtle ways.
Why Preparation Influences Every Outcome.
Preparation is the most influential stage of finishing. Sanding marks that appear invisible under workshop lighting become obvious once a clear coat dries.
A single scratch across a cabinet door can catch sunlight and draw attention away from the entire piece.
This is why experienced woodworkers move through grits methodically and check surfaces under angled light.
The fingertips often detect imperfections before the eyes do. The slight drag of a rough patch signals that more work is needed.
There is a practical trade off here. Thorough surface preparation takes time and can feel repetitive.
However skipping steps leads to longer correction later. Removing a hardened coat to fix a sanding flaw requires more effort than addressing it before finishing begins. The limitation is clear. Preparation demands patience and cannot be rushed without consequence.
Common Problems That Education Helps Prevent.
Several issues arise when finishing knowledge is limited. Each one affects the appearance or durability of the final piece.
- Uneven stain absorption that creates blotches on softwoods.
- Brush marks that remain visible after drying.
- Dust nibs that settle into wet coats.
- Cloudiness caused by incompatible product layers.
- Over-application that leads to tacky surfaces.
These problems often stem from misunderstanding how products behave.
Pine absorbs pigment rapidly which leads to dark patches unless a conditioner is used. Varnish requires thin coats to level properly.
Oil finishes attract airborne dust if applied in a cluttered environment. Each issue has a clear cause and a clear method of prevention.
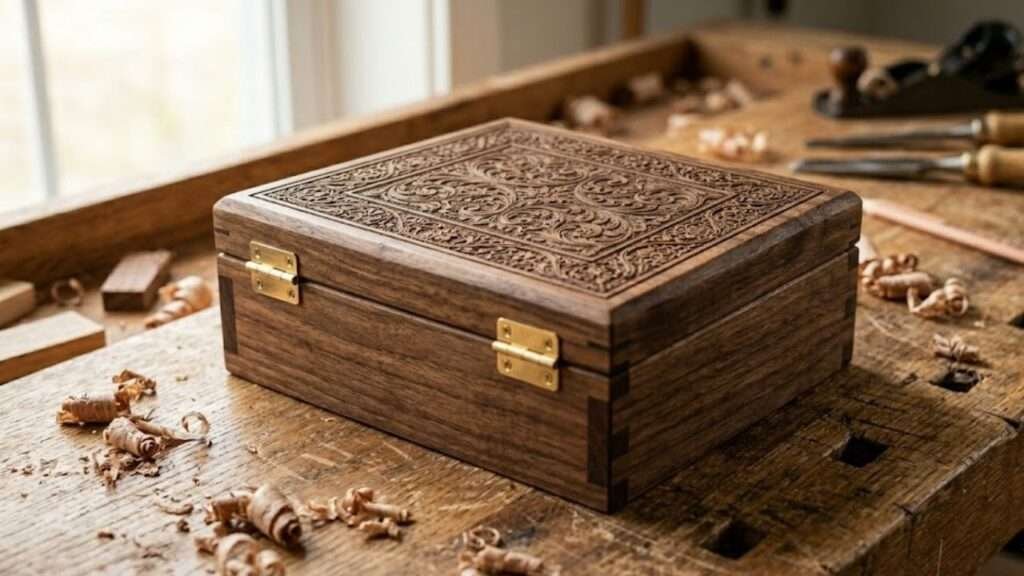
The Counter-Intuitive Value of Restraint.
One counter-intuitive insight surprises many skilled woodworkers. Adding more finish does not always improve protection.
Excessive layers can reduce clarity and create a plastic-like surface that hides the natural character of the timber.
A thin, well-cured oil finish on a hardwood bench seat can outperform a thick film finish in both appearance and tactile comfort.
The grain remains visible and the surface feels warm under the hand.
This challenges the assumption that durability always increases with product quantity. Restraint requires confidence. It also requires understanding how different finishes cure.
An oil that penetrates deeply will strengthen fibres without forming a heavy surface layer. A polyurethane topcoat forms a protective film yet becomes brittle if applied too thickly.
The nuance lies in choosing the right approach for the intended use.
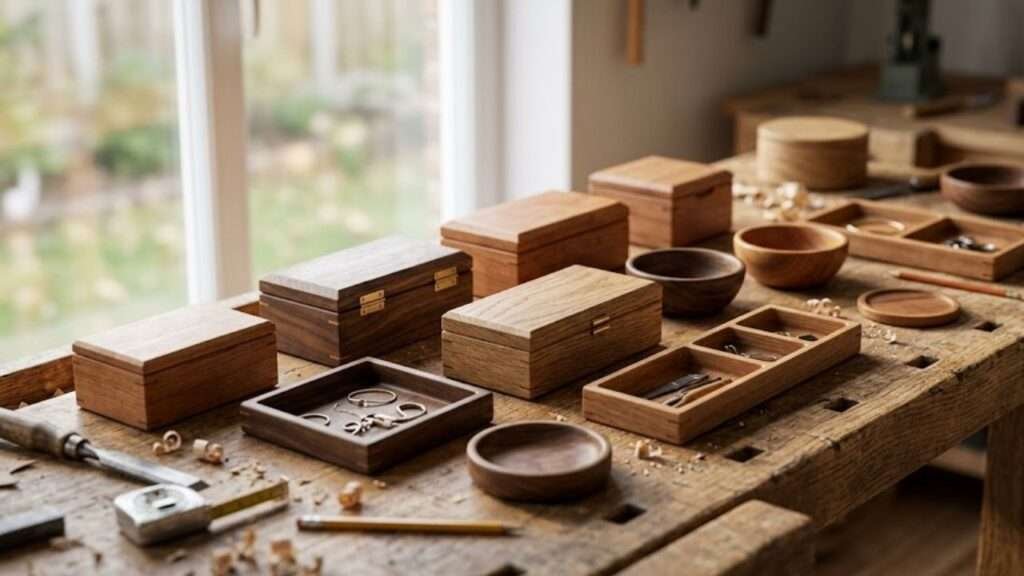
Selecting Finishes Based on Wood Species.
Different species respond uniquely to finishing products. A table can help clarify these relationships.
| Wood Species | Typical Response to Oil | Typical Response to Stain | Notes |
| Tasmanian Oak | Absorbs evenly with warm tone | Can appear muted | Benefits from clear finishes that highlight grain. |
| Pine | Absorbs rapidly | Prone to blotching | Requires pre-conditioning for consistent results. |
| Blackbutt | Richens significantly | Accepts stain well | Grain density supports durable film finishes. |
| Walnut | Deepens in colour | Rarely stained | Natural tone often preferred with oil or wax. |
This table reflects practical workshop experience. The way a finish behaves is tied to the density, pore structure and natural oils within the timber.
A craftsperson who understands these characteristics can predict outcomes with greater accuracy.
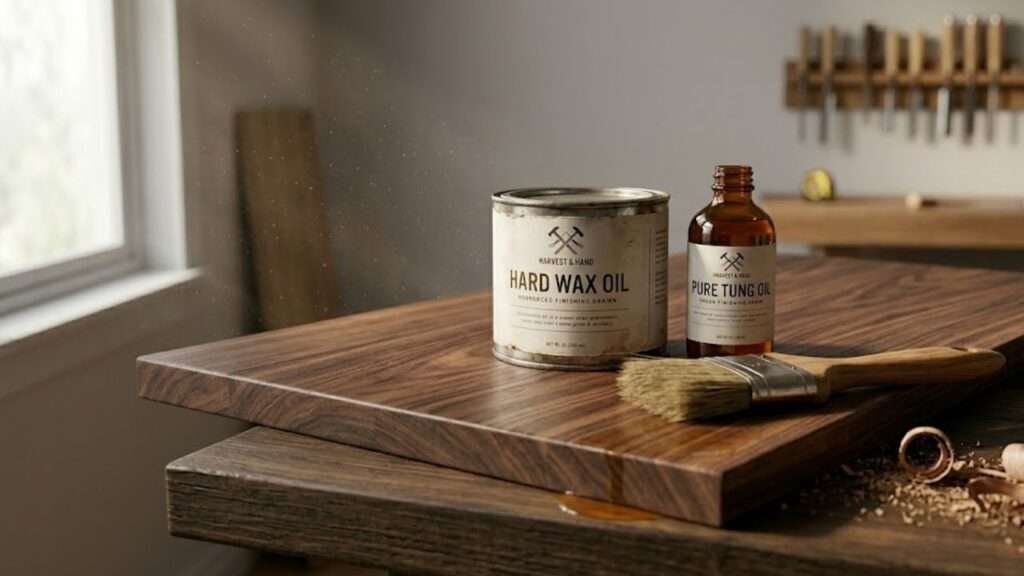
Avoiding Mistakes Through Product Knowledge.
Product knowledge prevents many finishing errors. Each finish has a specific working time, curing requirement and application method.
A water based polyurethane dries quickly which reduces dust contamination yet demands efficient brushing.
An oil blend requires time to penetrate before excess is removed. A wax finish must be buffed to achieve a consistent sheen. These details influence workflow.
A nuanced observation emerges here. The same finish can behave differently depending on the environment.
A coat applied in a warm room levels smoothly while the same coat applied in a cool shed may thicken and drag. This is not a flaw in the product. It is a reminder that finishing is sensitive to conditions that seem unrelated at first glance.
- Temperature affects drying speed.
- Humidity influences curing.
- Airflow determines dust movement.
- Light reveals surface irregularities.
These factors shape the final result as much as the product itself.
The Value of Testing Before Committing.
Test pieces are essential. A small offcut from the project timber provides accurate insight into how a finish will appear.
The colour shift after the first coat can be surprising. A pale board may darken more than expected.
A satin sheen may appear glossier under natural light. These tests prevent disappointment and allow adjustments before the main work begins.
Testing also reveals how the wood feels once finished. The tactile quality of a surface is often overlooked.
A waxed drawer front has a soft, almost silky feel while a varnished tabletop feels firmer. These differences influence how the piece is used.
A drawer that glides smoothly encourages daily interaction. A tabletop that resists moisture supports practical living.
Building Confidence Through Repetition and Observation.
Confidence in finishing grows through repetition. Each project teaches something new.
The way a brush loads with varnish, the way oil spreads across end grain or the way a cloth picks up excess wax all contribute to a deeper understanding of the craft. These small observations accumulate.
Over time the process becomes intuitive.
There is a quiet satisfaction in recognising how light reflects off a freshly levelled coat or how a final buff brings depth to a surface.
These moments reinforce the value of learning finishing techniques before attempting complex work. They also highlight how finishing is not a separate stage. It is part of the entire woodworking process.
Closing Thoughts.
Finishing is a discipline that rewards preparation, observation and patience.
Time spent learning techniques prevents common problems and enhances the quality of every project. The grain becomes clearer.
The surface becomes smoother. The piece becomes more durable and more enjoyable to use.
Woodworkers who invest in finishing skills gain control over the final impression their work creates. The result is craftsmanship that feels complete.